Not all roofing solutions are created equal and the most appropriate approach will depend on the type of roof you’re dealing with, whether it’s gabled, hipped, domed, arched or flat.
Material choice will also depend on what it is you’re hoping to achieve, whether you’re going for a full roof replacement or simply need some roof repairs done.
Common roofing materials include:
- Clay/concrete tiles, for durable and cost-effective options
- Natural slate, ideal for period/historical properties
- Fibre cement slate, as a more affordable alternative to natural slate
- Metal roofing, for contemporary sites or outbuildings
- EPDM, ideal for flat roofs
- GRP, to provide watertight surfaces with excellent longevity
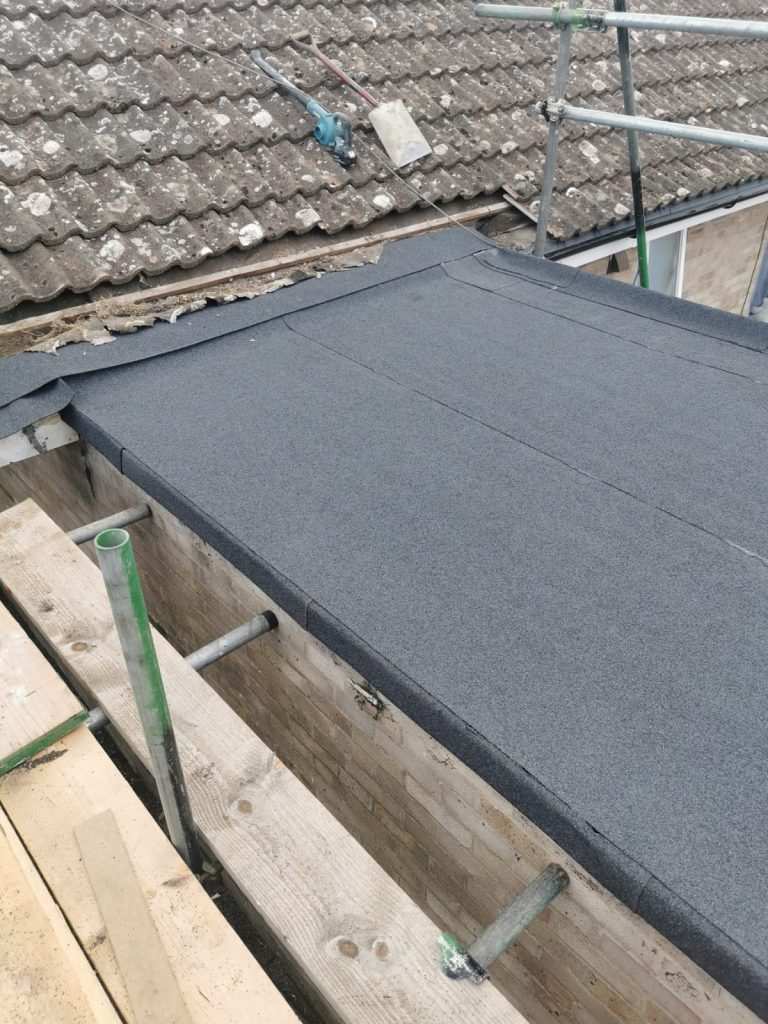
- Bitfelt, for a robust and multilayered waterproof barrier
- Liquid waterproofing, ideal for roof repairs and flat roofs
It is the final roofing material included in this list that we’re focusing on in this particular blog – but rest assured that the KMS Roofing team provides a full suite of services, no matter what your roofing issue is.
What is liquid roofing?
Liquid roofing involves the use of a liquid membrane (such as acrylic, bitumen or polyurethane), which is applied to the surface of a roof. Once cold-applied, it cures to form a rubber-like flexible barrier that’s seamless, waterproof and incredibly durable.
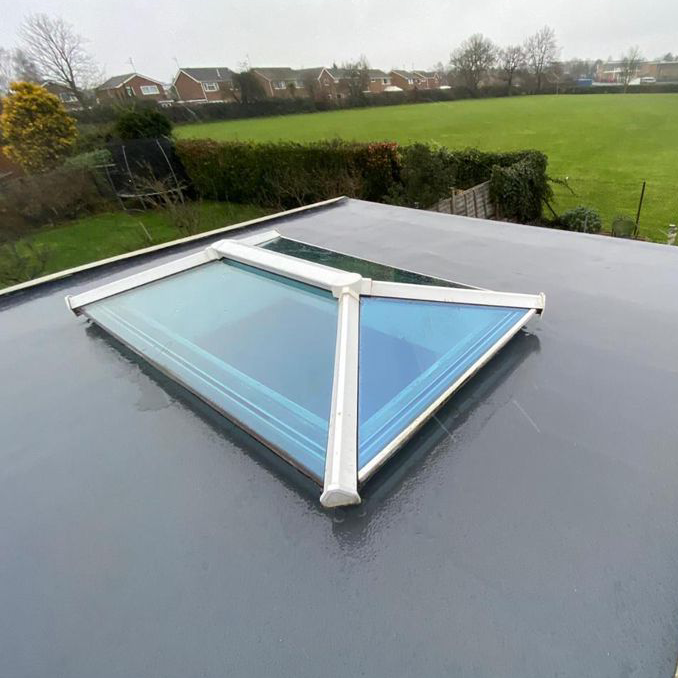
This is a particularly good option for flat roofs because it can be easily moulded to fit awkward and complicated corners and shapes. It can also be applied on top of existing roofs, so you can save both time and money.
How is liquid roofing applied?
Step 1
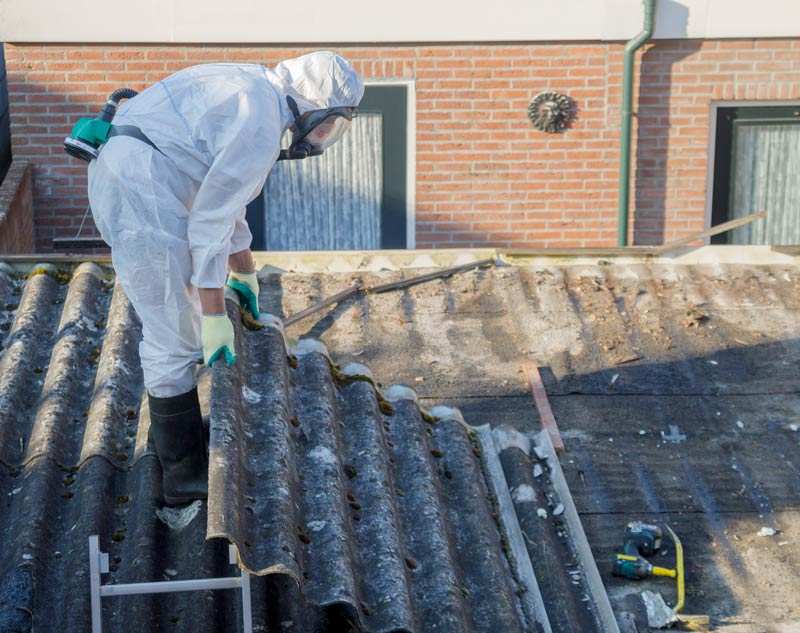
The roof is prepped, with all dirt and debris cleared using a stiff brush or pressure washer. It must then be allowed to dry completely.
Step 2
Any gaps, blisters or cracks must be repaired to ensure a smooth and stable base.
Step 3
If the substrate is porous or if applying the product over old roof materials, a compatible primer is used.
Step 4
Liquid roofing is then applied around any chimneys, vents and skylights, before the main coats can be done.
Step 5
The liquid is poured directly onto the roof surface. Fibreglass matting can be rolled out into the first coat with more liquid applied over the top if necessary. This must be left to dry completely, which can take up to 24 hours.
Step 6
A second cross-coating is applied at a 90-degree angle to the first to ensure full coverage.
What are the benefits of liquid roofing?
1. Seamless waterproofing
A seamless membrane is created with no joints because the solution is applied as a continuous liquid. This can reduce the risk of leaks and failures.
2. No fire risk during installation
Because liquid roofing is cold applied, there are no fire risks involved during the process, so it’s a good choice for schools, hospitals and other occupied buildings.
3. Minimal disruption
The application and curing process is fast and efficient, so less downtime is required.
4. Longevity
If professionally applied and well looked after, a liquid roofing system can last for up to 25 years.
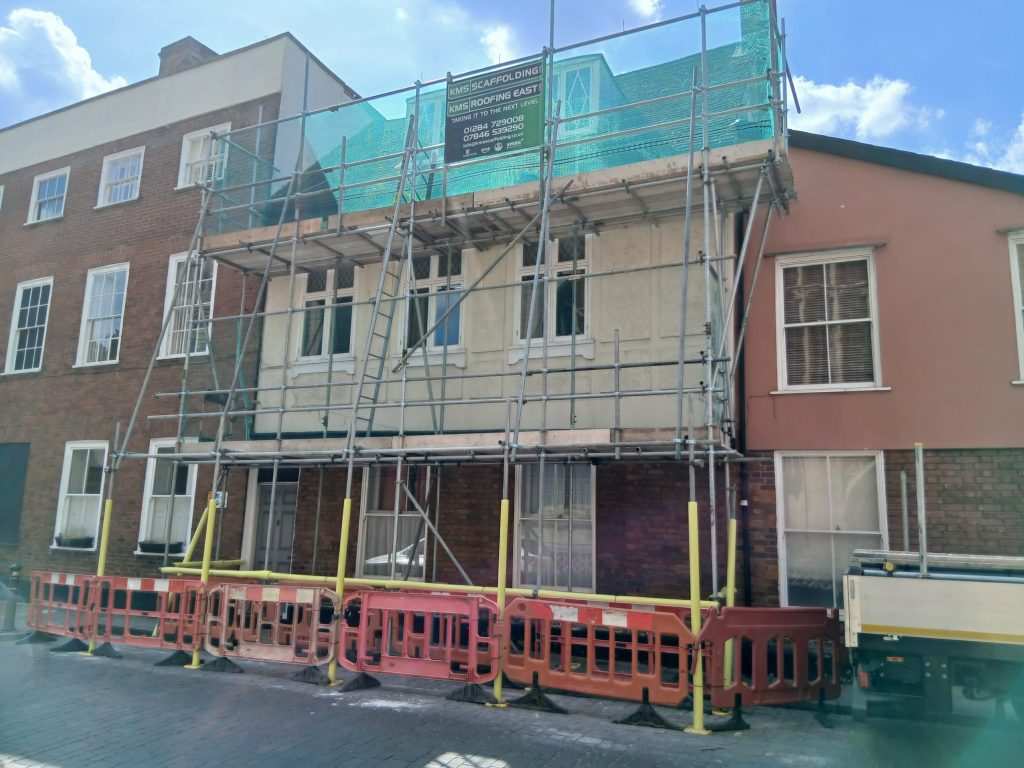
Get in touch
If you’d like to find out more about our roofing services, get in touch with the KMS Roofing team today.