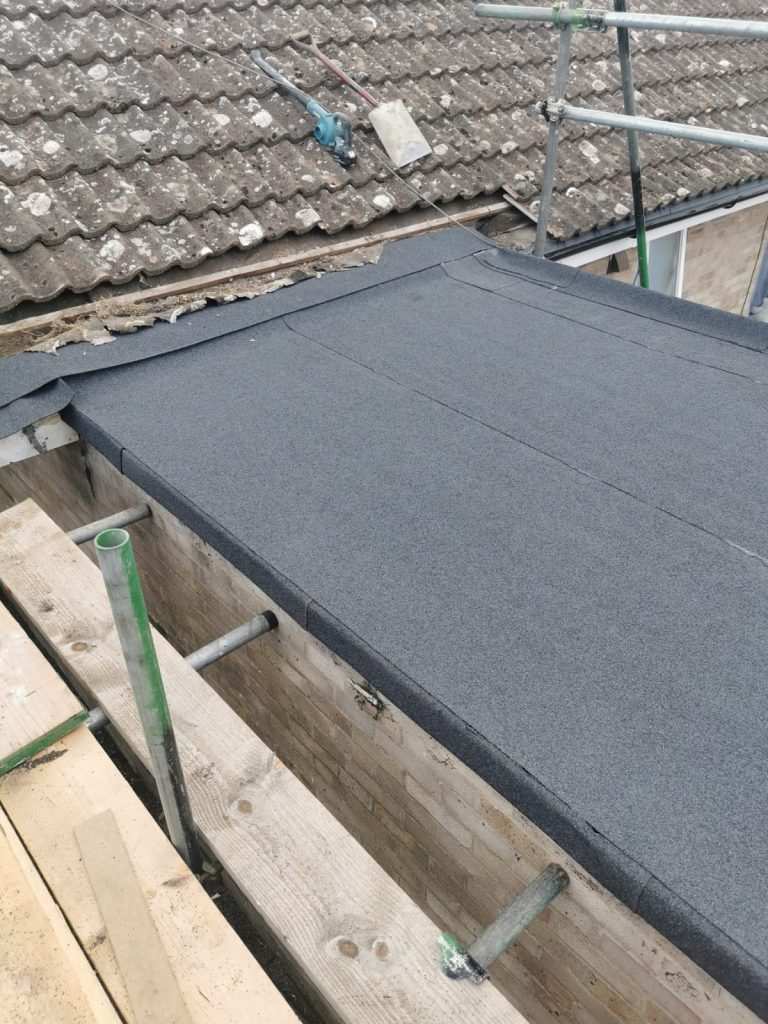
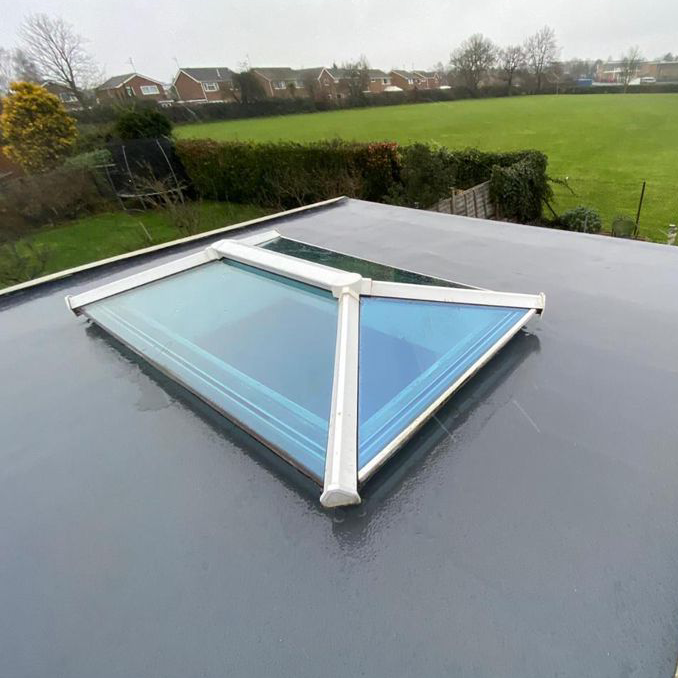
Roofing felt, also known as tar paper or underlayment, is an integral component of most roofing systems. Traditionally, it’s a roll of base material saturated with asphalt or bitumen. It provides an additional layer of protection beneath the shingles, tiles, or other primary roofing materials. Often dark grey or black, roofing felt is a common sight on roofs mid-construction, prior to the outer layer being added.
Importance of Roofing Felt
Roofing felt serves several essential functions that can significantly extend the lifespan of your roof. Firstly, it provides a secondary barrier against inclement weather, preventing moisture ingress into the structure of the roof. It can also protect the roof deck from any potential damage during construction.
In addition, roofing felt can enhance the fire resistance of your roof. Some classes of felt are specially designed to slow the spread of flames, providing valuable time for occupants to evacuate the building in case of fire.
Lastly, laying roofing felt can help to create a smoother, more uniform surface onto which the final roofing material can be installed. This can reduce the risk of imperfections in the roof’s appearance and enhance its overall longevity.
Materials Needed
To lay roofing felt, you will need:
- Roofing felt
- Hammer-tacker or roofing nailer
- Galvanised roofing nails or staples
- Utility knife
- Straight edge or ruler
- Tape measure
- Chalk line
Step-by-Step Guide to Laying Roofing Felt
Preparing the Roof
Before you start, ensure the roof deck is clean, dry, and free from any protrusions like old nails or splinters. Any damage should be repaired as roofing felt is not designed to bridge gaps or holes.
Measuring and Cutting the Felt
Use your tape measure to measure the length of the roof. Cut your felt to size using the utility knife and straight edge, allowing an additional 10cm on each end for overhang.
Installing the First Layer of Felt
Start at the bottom edge of the roof. Roll out the first layer of felt across the roof, ensuring it overhangs the edge by approximately 5cm. Keep the roll tight against the roof to avoid creases or bubbles.
Securing the Felt
Secure the felt using a hammer-tacker or roofing nailer and galvanised roofing nails or staples. Begin in one corner and work your way across, placing nails about 35cm apart. Don’t forget to nail the overhang to the fascia board.
Adding Additional Layers
Use the chalk line to mark the next layer. It should overlap the first by at least 10cm. Repeat the process until you reach the peak of the roof. Ensure the final layer overhangs the peak by 10cm.
Finishing Up
Cut the felt along the peak of the roof, fold it over, and secure it with nails. Make sure all edges are nailed down firmly.
Tips for Success
Here are some tips for successful roofing felt installation:
- Always lay felt from the bottom of the roof upwards. This allows water to flow over the seams, rather than into them.
- Be careful not to tear the felt when handling it. Any holes can allow moisture to seep into the roof.
- Ensure the felt is flat with no bubbles or wrinkles, which can lead to water pooling.
- Always overlap the layers to create an effective barrier against moisture.
- Don’t install roofing felt in wet conditions as it can trap moisture, leading to mould and rot.
Conclusion
Laying roofing felt is a key step in roof construction and installation, providing protection, fire resistance, and an optimal surface for the final roofing material. It’s a straightforward process that requires some patience and precision, but with the right tools and by following the step-by-step guide above, you can effectively lay roofing felt on your own.
Remember, safety should be your top priority. If you’re uncomfortable with heights or handling the necessary tools, it’s always best to hire a professional roofer. They have the expertise and safety equipment to complete the job efficiently.
Moreover, bear in mind that roofing felt is only one part of a well-constructed roof. Other aspects, such as proper ventilation and insulation, the correct choice of materials, and regular maintenance, also play significant roles in ensuring your roof’s longevity and efficiency.
Whether you’re a budding DIY enthusiast or a professional builder, understanding how to lay roofing felt can be a valuable skill. It’s a practical way of ensuring your roof â the first line of defence against the elements â is up to the task, of providing a comfortable, safe, and dry environment beneath it.