Roofing felt is a vital component of a roofing system. It’s a form of protective underlayment that acts as a barrier between the structural elements of your roof and the external roofing material, such as tiles or shingles. Made from either natural materials like rag fibre or synthetic ones like polyester or fibreglass, all saturated with asphalt or bitumen, this layer of protection shields your roof from water damage and aids in the overall longevity of the roof.
Signs Your Roofing Felt Needs Repairs
If your roofing felt is damaged, it can lead to a host of problems, including leaks and structural damage. Here are some signs that your roofing felt may need repairs:
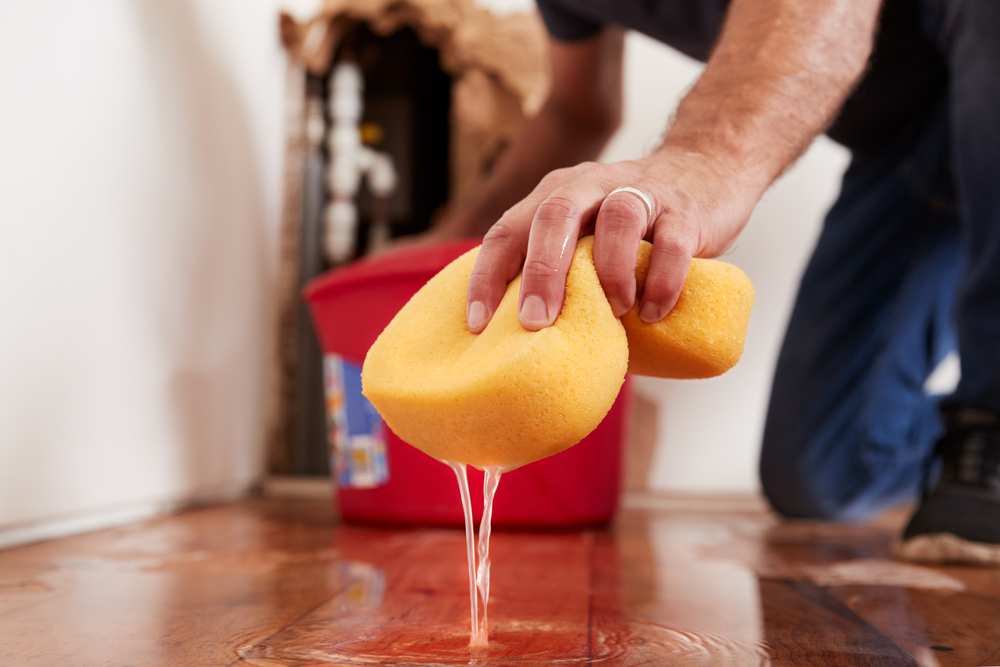
- Roof Leaks: If you notice water seeping into your attic or upper rooms during rain, it could indicate a problem with the roofing felt.
- Visible Damage: If you can see the felt through missing or damaged shingles and it appears torn or punctured, it likely needs to be repaired.
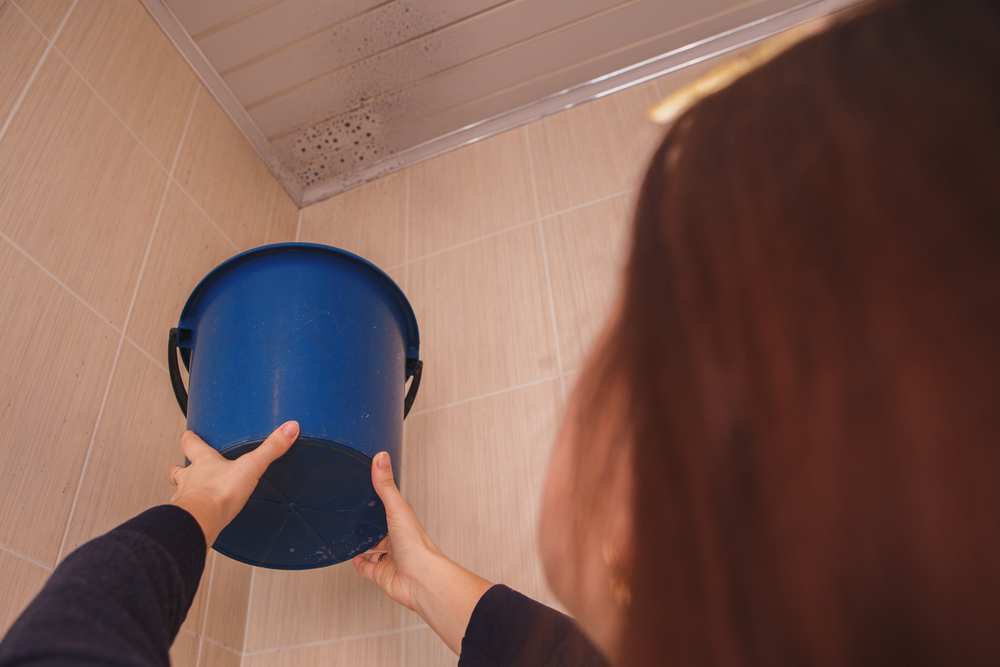
- Moisture in the Attic: Condensation or dampness in the attic could signal a problem with the roofing felt.
- Sagging Roof Deck: A sagging or drooping roof deck can be a sign of significant water damage, which may be due to faulty roofing felt.
Necessary Tools and Materials
Before starting any repairs, ensure you have the following tools and materials:
- Replacement roofing felt
- Roofing nails
- Hammer
- Utility knife
- Straightedge or ruler
- Ladder
- Safety gear (gloves, safety glasses, and non-slip shoes)
Step-by-Step Guide to Fixing Roofing Felt
Step 1: Safety First
Always take the necessary precautions before starting any roofing work. This includes using a sturdy ladder, and wearing non-slip shoes, gloves, and safety glasses.
Step 2: Assess the Damage
Identify the extent of the damage. If the damage is limited to a small area, you might be able to patch it. However, if the damage is extensive, it may be necessary to replace the entire section of felt.
Step 3: Remove Damaged Felt
Using your utility knife, carefully cut out the damaged section of felt. Be sure not to damage the roof deck underneath.
Step 4: Cut a Patch
Cut a patch of replacement felt that is slightly larger than the area you removed. The extra size allows for an overlap, creating a better seal against water.
Step 5: Secure the Patch
Place the patch over the hole, ensuring it covers the area completely. Secure it in place using roofing nails, placing them around the edges and in the middle of the patch.
Step 6: Inspect Your Work
Once the patch is secure, inspect your work to make sure the patch is flat and there are no loose edges that water could get under.
When to Call a Professional
While minor repairs can often be done by a homeowner, there are situations when it’s best to call a professional. If the damage to your roofing felt is extensive, or if it’s part of a larger issue with your roof, a professional roofer should be called in. Additionally, working on a roof can be dangerous due to the risk of falls, so if you’re uncomfortable with heights or unsure about the repair, it’s best to hire a professional.
Conclusion
Roofing felt plays a crucial role in protecting your home from water damage. Knowing how to identify signs of damage and perform basic repairs can help maintain the effectiveness of this protective layer. However, it’s important to remember that safety should always come first.